


Monday, August 24, 2015
Hello Friends!
I finally figured out my email and password...LOL :) I haven't been doing a lot of crafting, working outside the home doesn't leave me a lot of free-time. I am working at Hy-Vee in Charles City IA. USA. Seven consecutive days in a row wears an ole girl out! LOL. One of the things I miss the most is visiting all of your blogs. I do appreciate all of my followers who have continued to visit my blog and am hoping that one of these days, I have a new project to show you :) I miss you all and many of you have become my friends. Lots of love to each of you, Jan :)

Wednesday, July 17, 2013
Welcome to Our Home
Hello friends! I'm finally settled enough to share some pictures of our new/old home. I'm anxiously waiting for our abstract/deed to be updated so I can read some of the history of our house.
I am really getting the itch to start creating again but have not started to set up my craft space. I will get started at it very soon :)
 Built in 1920


I am really getting the itch to start creating again but have not started to set up my craft space. I will get started at it very soon :)


Waterfront view.
Kitchen

Kitchen Decor

Dining Room

Dining Room Buffet, The 1920's were the start of Art Deco and this Buffet has the Art Deco in the Glass doors. I wonder if the people who built our home would have had a similar buffet?

I've decorated my Dining Room with Great Grandma Rosa's Jewel Tea dishes.

Table decor

Inside buffet

Front Door

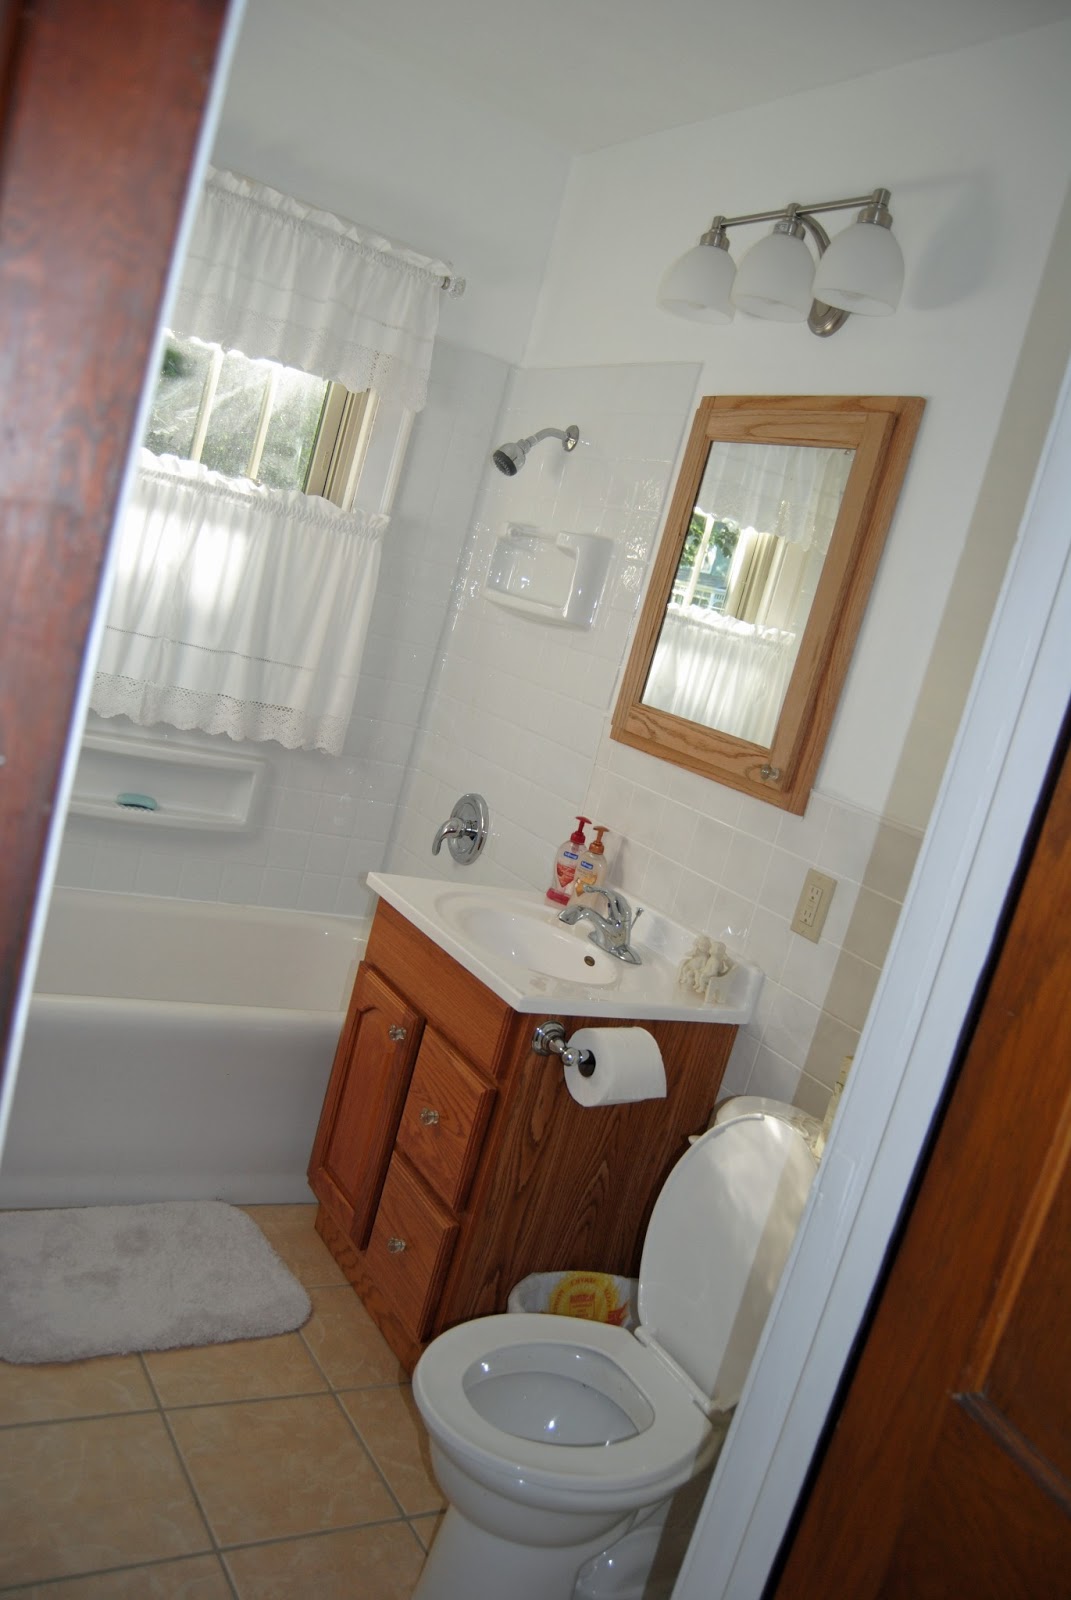
Bathroom 1
Sun Room

View from Sun Room

The sun room has beautiful french doors.

Sun Room Decor

LOVE the vintage boots..They were well loved because the have been re-soled and the new bottoms have a hole in them :)

Living Room

Bust in Livingroom on the mantle. This beauty gives my hubby the creeps and if he is reading, he turns his back to her because he thinks she is watching him...hee-heee!

Stairway Decor


Our Room

1800's piece...porcelain wheels

1900's piece...wooden wheels

Spare room. (When Amy visits, she'll sleep here :)


Hope you've enjoyed your tour.
Hubby and I both feel like we are living in a vacation home and we've taken the boat out on the water several times. I love being back in Charles City..my hometown :) Hubby likes living in town, too!
I'll get pictures of the teenagers room when he is awake. hmmmm?
I'll try to get my craft space in order and then share pictures of that, too!
Monday, May 20, 2013
Hello
Hello friends :) Wanted to pop in and update you. We have sold our home and will purchase a waterfront home built in 1920. When we get settled, I'll be sure to post some pictures! I love the character of our new, old home :) If you're like me and love vintage, I know you'll like our home, too!
It's been quite a process and a bit stressful and we've gone through each of the inspections. They will take the last water test at 10:30 this morning and we're prayerful that this will pass so we can move forward. I'd appreciate a little prayer from my friends.
You have all been such loyal friends here and I really do appreciate all of you who have hung in there with me through this transition.
Oh! How I miss my crafting! It's been over 4 months since I have been able to craft and my soul needs to reconnect with my love and passion of altered art :)
Thank you again, friends and I hope to be posting another update soon!
Thursday, January 24, 2013
A Bit Of A Break as We Prepare To Move
Hello friends :) Just wanted to let you all know that our house has been listed and we are busy preparing for a move. We'd like to go back to my hometown and be nearer to Mom. YIPEE! We are about an hour and a half from her now and it will be nice to be closer so we can lend a helping hand when she needs on...and I'll even be able to stop at her house and have a cup of coffee. I've always been so close to mom and can't tell you how excited I am.
I did resign from the Angela Holt Design Team and have stayed with Kuretake/Zig. I'm hoping I can keep up :) It's tough when your mind is busy with sorting what goes to auction, goodwill, friends, etc! We just listed the house and we have people coming on Friday and Saturday to have a look.
I'd sure appreciate your prayers and we start a new journey :) Love to you all!
Monday, January 14, 2013
Angela Holt Challenge Blog: Faux Modeling Paste
Hello friends! Angela Holt Designs and her Creative Design Team have announced the first challenge. Virginia is the hostess and she shows us how to make our own Modeling Paste. She's offering a generous prize to one participant! I’ve always purchased Golden Molding Paste and I love it but it can be a bit pricy! I really like this idea!
For my project, I decided to make a Wine Case and decorate a Wine Bottle. Getting my chipboard to curl and take form was the biggest challenge, but, misting it with water seemed to break down the fibers and it started to take shape.

The door knob on top, the metal butterflies. key hole and keys, Metal pulls are all Graphic 45. “A Proper Gentleman” papers are also Graphic 45. The window die is Sizzix.


Molding Paste close up

Thursday, January 10, 2013
Angela Holt Designs Creative Team with Graphic 45


I added a mirror and a tiny clock on the inner shelf. Also a bit of lace, clothes and a clothes rack.


The side

The Wardrobe is Retro Cafe Art.
Be sure to hop on over and visit the gals :)
Jan (you're here)
and our generous sponsor Graphic 45


Sure hope you've been inspired and have enjoyed my "Ladies' Diary" projects!
Monday, January 7, 2013
Angela Holt Designs Creative Design Team Hop: Glass Door Cabinet and Mini

Hello friends! I'm so excited to be part of the Angela Holt Creative Design Team. I get to share a post using my all time favorite company, Graphic 45! YIPEE! The Graphic 45 Collections we'll be working with through December are "A Proper Gentleman" and "A Ladies' Diary".
Se sure to hop on over and visit Angela Holt Designs and just click on the names below to see what the Creative Design Team has for you :)
Virginia Dare Burnett
Jan Holland Hennings (you are here)
Jennifer Stahr
Shanna Shands
Scrappin Madge
I wanted to make an extra special project for all of you today so I designed my own Glass Door Cabinet.

A closer look.

Album

Album opened

Top of album

Bottom of album

Close ups of the cabinet

Inside

One Life Shelf

Drawers

Right side of cabinet with an album

Knob

I've used a couple adhesives to hold it all together. Helmar 450 Quick Dry works well for the chipboard and paper. Beacon holds all the metal and polyester sheets in place.
I hope you're enjoying the hop and be sure to stop next week to see my "Ladies' Diary" Wardrobe!
Subscribe to:
Posts (Atom)


